Section 4 Extraction
4.1 Web Scraping
Web scraping is the process of fetching and extracting information or data from a webpage. It is very useful if you want to create a dynamic database that updates itself based on the content of a specific website without having to return and manually update the data repeatedly.
To scrape a webpage, we first need to know how to get to the webpage. It can be helpful to retrieve a url that you can use to directly access the content. For example, to obtain the Google search results for “data science”, you can copy and paste this url to your browser: https://www.google.com/search?q=data+science . Using this url allows you to access results without having to type “data science” on a Google search web page. While this example is rather trivial, website scraping is a critical tool for more complicated or extensive data pages. Some websites like Twitter or Facebook will require to you to use an API for authentification in order to access their data. API stands for Application Programming Interface. It is a computing interface which connects interactions between intermediaries and gives the user a set of conventions to follow for the extraction process.
For this example, we are going to use The Weather Channel’s website, which does not require authentification. We will extract the 10-day forecast for a specific location and store the data in a dataframe in R for later usage.
After inspecting the website and its url, you will notice that you can view the weather data by zip code using this url pattern:
https://weather.com/weather/ + forecast type + /l/ + zip_code + :4:US
If we want to view the 10-day forecast for New Haven, we can go to: https://weather.com/weather/tenday/l/06511:4:US.
And if we want to access data for today’s forecast: https://weather.com/weather/today/l/06511:4:US
Once we have the webpage url, we can read it into R and extract the data using rvest from the tidyverse collection. We will use the same process of loading from library to get this working. If you are confused by what was just said or if this is not working for you, return to the previous chapter on reading in documents to acquaint yourself with package loading in R.
The New Haven 10-day forecast webpage looks like this:
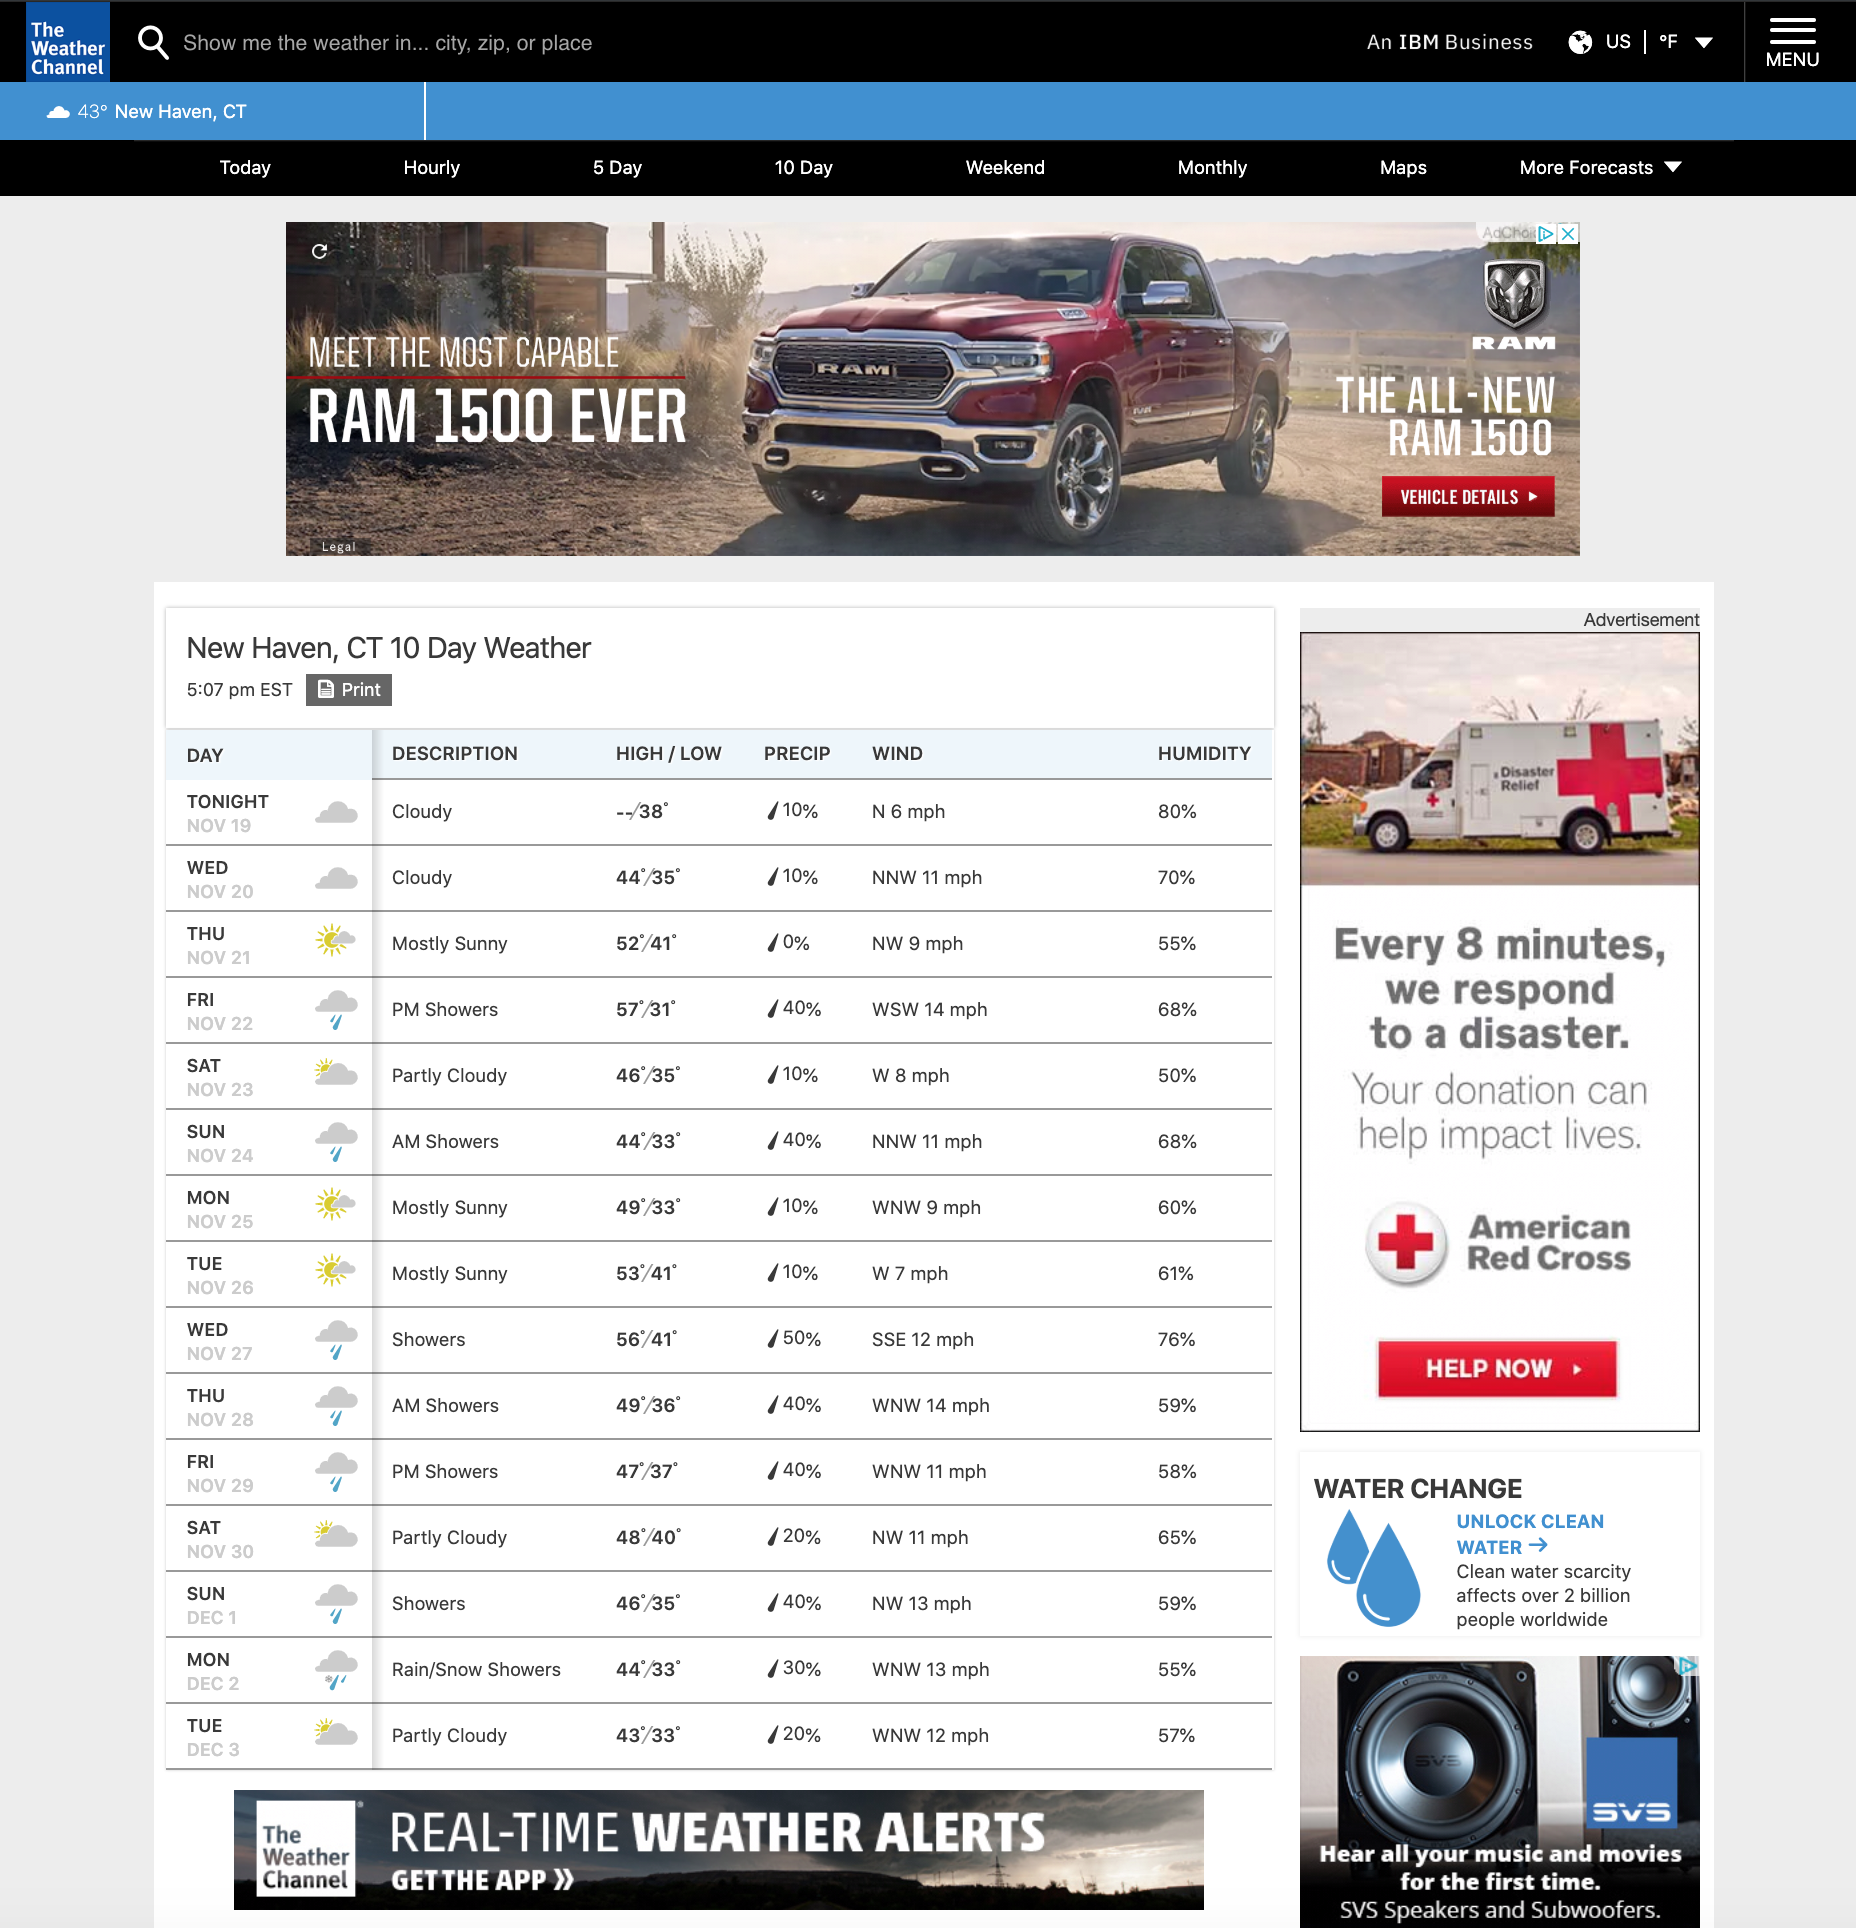
weatherpage
What we want now is a table that has comprehensive coverage of the weather information for our selected criteria and time window. In order to extract these values, we have to know where in the source code they are located. For example, in the “DAY” column, we want to extract the exact date instead of the days of the week. And we can do that by:
- Inspecting the tag or class of exact date from the website.
- Moving the cursor to the exact date, right-clicking, then choosing
Inspect
When a window opens, it will point directly to the location of the exact date in the source code. Take notes of the css (tag or class name) and use it to get the exact date value using the html_nodes() function. Since this is complicated, we highly recommend following along with this example before trying to apply these steps to your own procedure. Look at the below image to understand what we mean:

weatherpage
Here is how we extract the dates:
## Loading required package: xml2# Get the webpage url and store it for access
url = 'https://weather.com/weather/tenday/l/06511:4:US'
# Load the webpage using the url
webpage <- read_html(url)
# Getting the exact date #######################################################
# Filtering the relevant css / location
# This line comes from our inspection of the webpage as described above
date_locations <- html_nodes(webpage, "span.day-detail.clearfix")
# Extracting the exact value
raw_date <- html_text(date_locations)
print(raw_date)## character(0)# Because the value are formatted like "NOV 21" we have to convert to a date format
exact_date <- as.Date(raw_date, format="%b %d") # b = month, d = day
print(exact_date)## Date of length 0You will see in the code above that we used a function called as.Date() and gave an argument ‘format= "%b %d’ to it. This means we want to reformat the date to have month listed first, and day listed second.
Here is the full code that extracts the complete table:
library(rvest)

# Get the webpage url
url = 'https://weather.com/weather/tenday/l/06511:4:US'

# Load the webpage using the url
webpage <- read_html(url)

# Getting the exact date #######################################################
# Filtering the relevant css / location
date_locations <- html_nodes(webpage, "span.day-detail.clearfix")

# Extracting the exact value
raw_date <- html_text(date_locations)

# Because the value are formatted like "Nov 21" we have to convert to a date format
exact_date <- as.Date(raw_date, format="%b %d") # b = month, d = day

# Getting the weather description
desc_loc <- html_nodes(webpage, "td.description")
desc <- html_text(desc_loc)

# Getting the temperature
temp_loc <- html_nodes(webpage, "td.temp")
temp <- html_text(temp_loc)

# High and Low temperature values
high_temp <- rep(NA, length(temp))
low_temp <- rep(NA, length(temp))
for (i in 1:length(temp)){
all <- unlist(strsplit(temp[i], "°"))
if (length(all) > 1){
high_temp[i] <- all[1]
low_temp[i] <- all[2]
} else {
low_temp[i] <- 38
}
}

# Getting the precipitation
precip_loc <- html_nodes(webpage, "td.precip")
precip <- as.numeric(sub("%", "", html_text(precip_loc))) / 100

# Getting the wind
wind_loc <- html_nodes(webpage, "td.wind")
wind <- html_text(wind_loc)

# Wind direction and speed
wind_dir <- rep(NA, length(wind))
wind_speed <- rep(NA, length(wind))
for (i in 1:length(wind)){
all <- unlist(strsplit(wind[i], " "))
wind_dir[i] <- all[1]
wind_speed[i] <- all[2]
}

# Getting the humidity
humidity_loc <- html_nodes(webpage, "td.humidity")
humidity <- as.numeric(sub("%", "", html_text(humidity_loc))) / 100

# Save the data in tibble
library(tibble)
new_haven_forecast <- tibble('day' = exact_date, 'description' = desc,
                        'high_temp' = high_temp, 'low_temp' = low_temp,
                        'precip' = precip, 'wind_dir' = wind_dir,
                        'wind_speed' = wind_speed, 'himidity' = humidity)
new_haven_forecast
## # A tibble: 0 x 8
## # … with 8 variables: day <date>, description <chr>, high_temp <lgl>,
## # low_temp <dbl>, precip <dbl>, wind_dir <chr>, wind_speed <chr>,
## # himidity <dbl>This can take some trial and error, so do not be dissuaded if your first attempt at extraction does not work out exactly as you had anticipated. Sometimes the computer will read in the lines that you want, but not in the format that you need them in, at which point you’ll need to directly manipulate the data. To learn some common ways of doing that, go to the next chapter on Structuring Data.